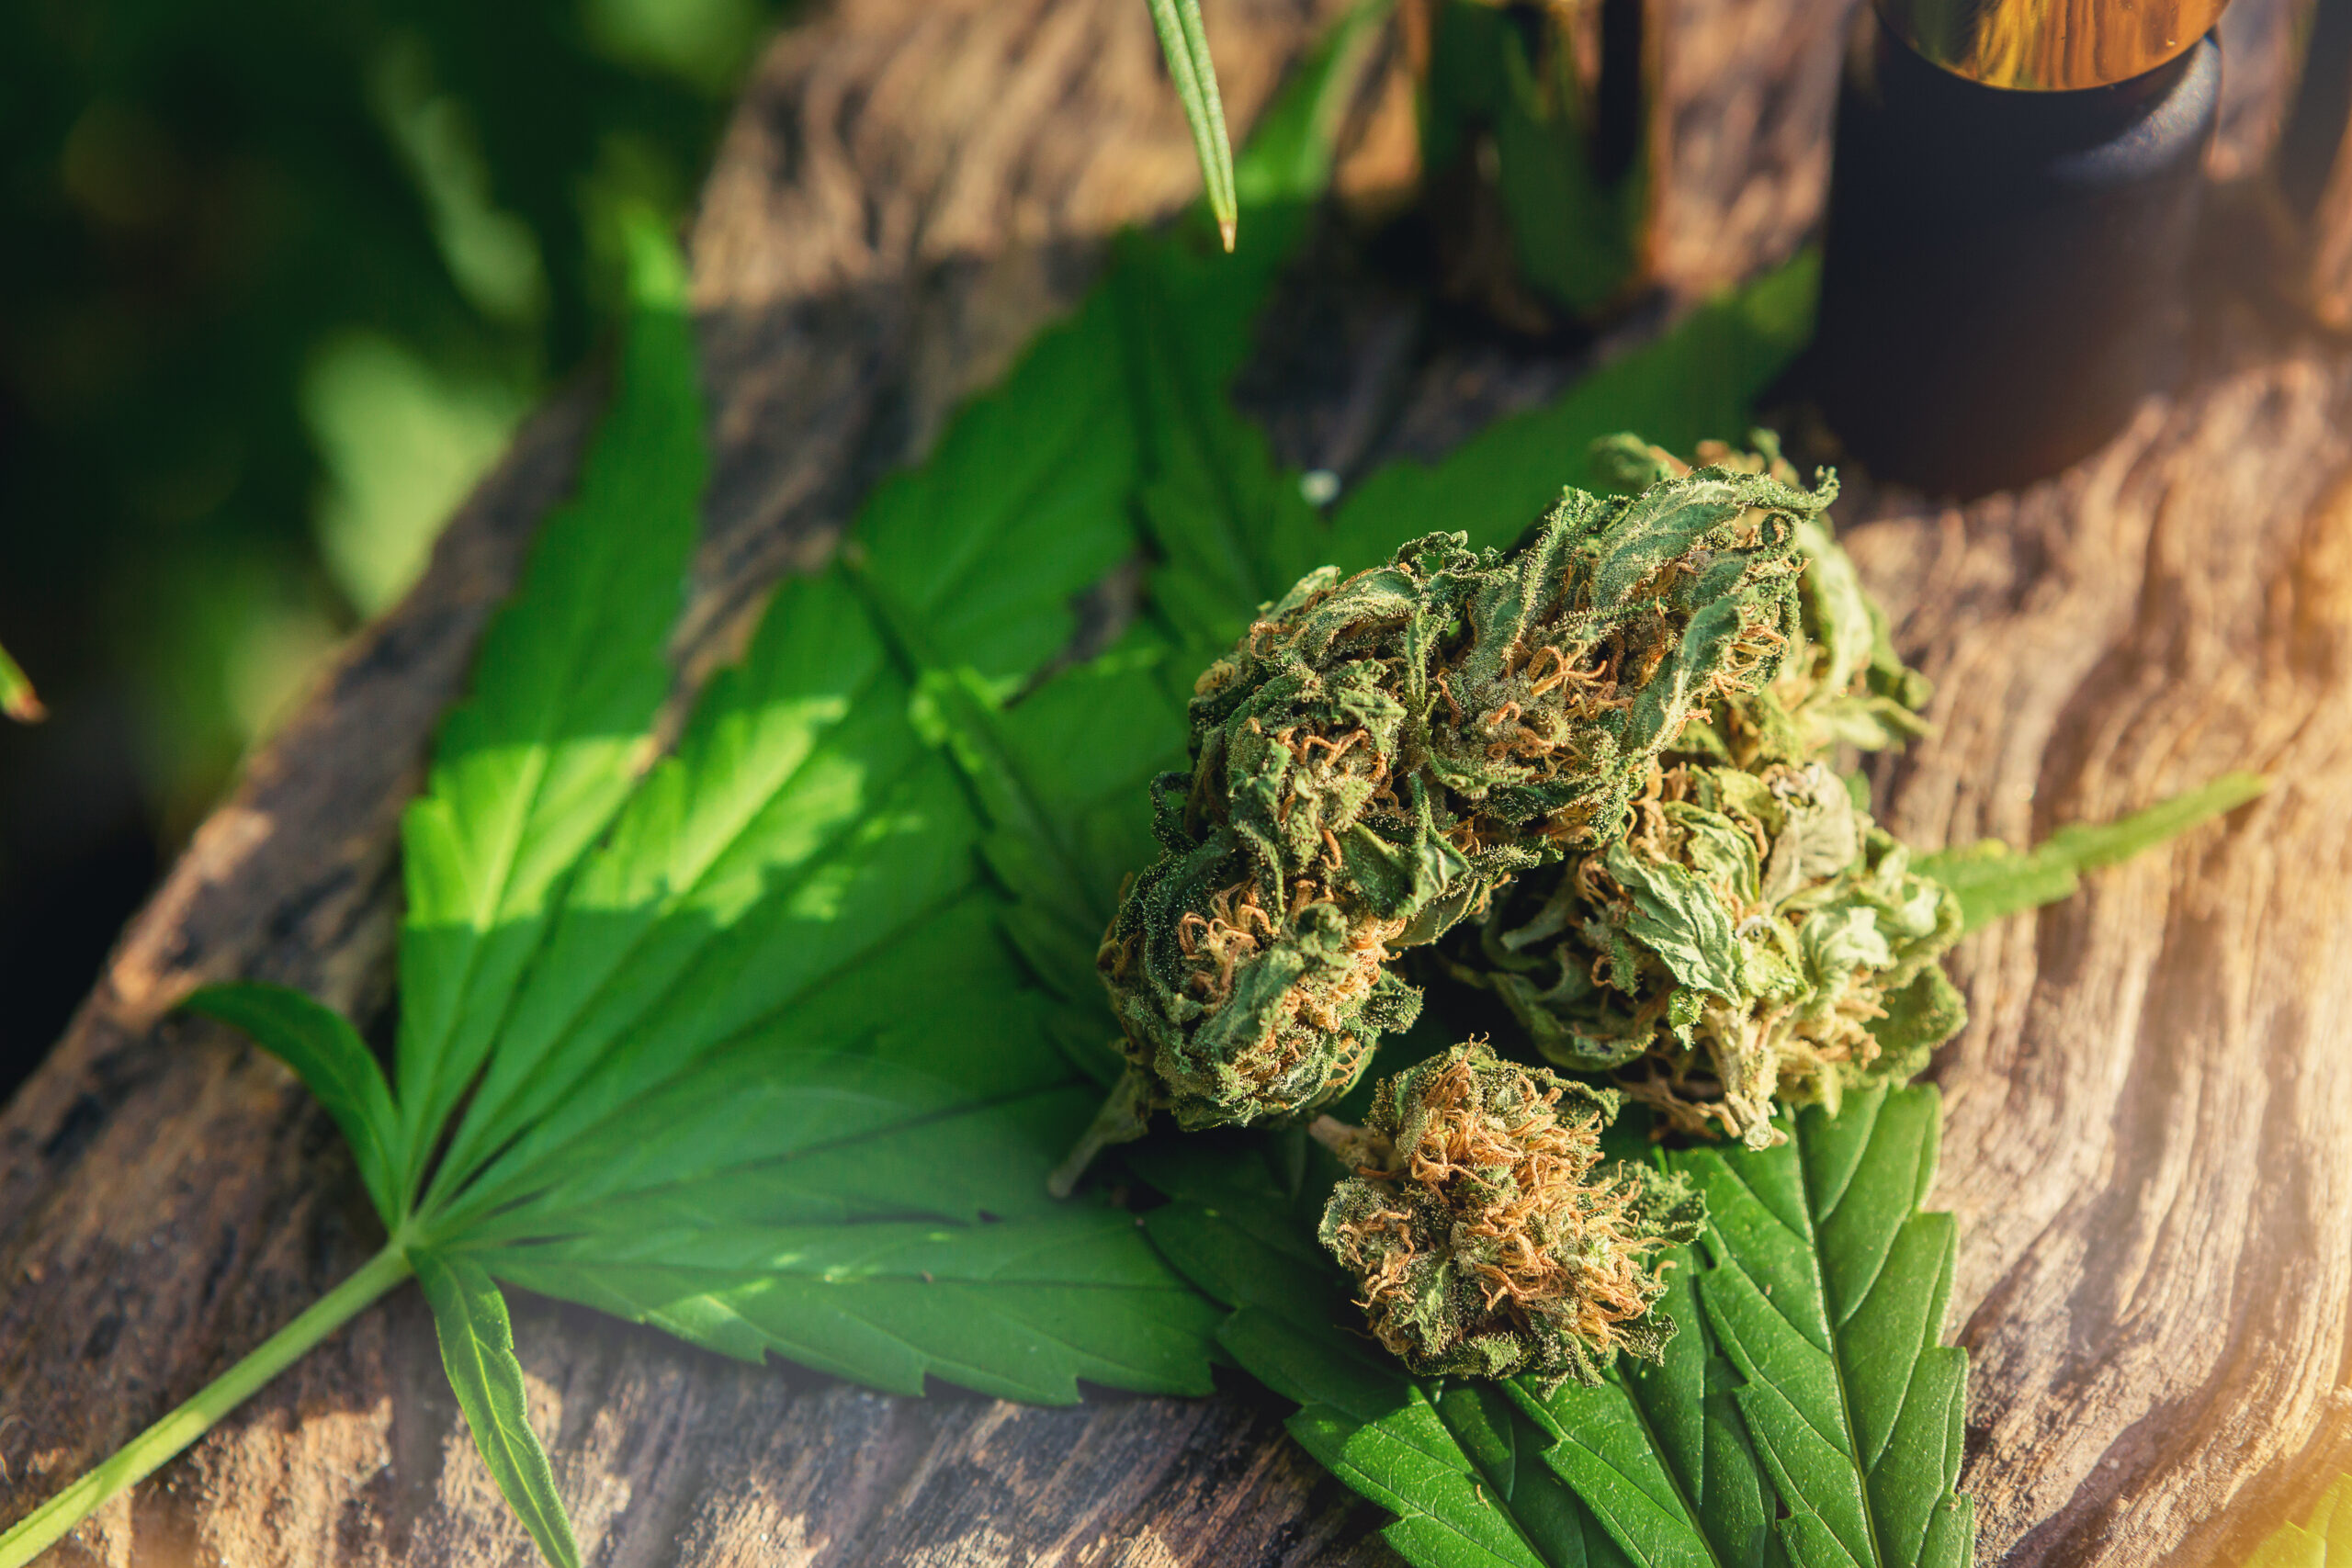
Welcome back to our educational series at TheNewAmsterdam.com. Today, we’re moving on to an exciting and handy skill in the cannabis world – rolling a joint. Rolling your joint might seem intimidating at first, but with a bit of practice, it can become an enjoyable part of your cannabis routine.
What You’ll Need
Before you start, gather the following tools:
- Cannabis: Choose your favorite strain from our extensive selection at TheNewAmsterdam.com.
- Grinder: As we discussed in our last blog post, grinding your herb is an essential step for an even burn.
- Rolling papers: These are available in various sizes and materials. If you’re new to rolling, we recommend starting with larger papers as they can be easier to handle.
- Filter/crutch: A filter isn’t mandatory, but it can prevent you from inhaling small bits of cannabis. It also provides a solid grip and shape to your joint. You can purchase pre-made filters or make one yourself using thin cardboard.
- A pen or packing tool: This will be used to pack the cannabis into the joint.
How to Roll a Joint: A Step-by-Step Guide
- Grind Your Cannabis: Use your grinder to break down your cannabis. Remember not to over-grind; you’re looking for a consistency that’s easy to manipulate but not powdery.
- Create Your Filter/Crutch: If you’re using a piece of cardboard, simply make a few accordion folds at one end before rolling it up to the desired thickness.
- Fill Your Paper: Hold your rolling paper in a U shape and evenly distribute your ground cannabis along the crease. Make sure to leave space at one end for your filter.
- Place the Filter: Position your filter at the end of the paper where you left some space.
- Roll It: Pinch the paper between your fingertips and slowly roll it back and forth to pack the cannabis down into shape. This might be the trickiest part for beginners, so take your time.
- Seal It: Once your cannabis is packed and shaped, roll the joint up, tuck the unglued side of the paper into the roll, lick the glued edge, and roll it onto the rest of the joint to seal it.
- Pack It: Using a pen or another narrow object, pack the end of the joint to ensure an even burn. You could also add more cannabis if the joint isn’t full.
- Finish It: Twist the tip of the joint to seal it off, and you’re ready to light it up!
Don’t get discouraged if your first few attempts don’t turn out perfect. Like any skill, rolling a joint takes practice. In the meantime, pre-rolled joints are a great option.


